
Stanage Edge - Peak District Walk
Monday 7th September 2015
Tomorrow I will be having my second cataract operation so I was determined to get out for a walk today. We set out after dinner and enjoyed a sunny late afternoon walk along a very quiet Stanage Edge.
Start: Dennis Knoll car park (SK 2272 8433)
Route: Dennis Knoll car park - Long Causeway - Stanage Edge - High Neb (TP) - Stanage End - Sheffield Country Walk FP - Dennis Knoll car park
Distance: 5.5 miles Ascent: 228 metres Time Taken: 2 hours 25 mins
Terrain: Clear tracks
Weather: Sunny and warm
Pub Visited: Yorkshire Bridge Inn Ale Drunk: Thornbridge, Lord Marples

The first view of Stanage Edge from our parking spot.

This is relatively easy walk that starts by heading along the Long Causeway.

As the path climbs the view opens up across Callow Bank to Higger Tor.

Stanage Edge from the track.

The Long Causeway is much smoother since it was 'improved' in the name of health and safety, no more boulders to avoid.

We didn't follow the track quite as far as the summit, instead we turned back on ourselves
to follow the track along the top of Stanage Edge.

Once the stile is crossed the narrow path becomes a wide and clear track along the top of Stanage Edge.

Looking back across the moors from High Neb.

As we head along the track the view across the moor extends beyond Win Hill.

High Neb's trig point.

As we approach Stanage End the boundary stone confirms our turning point.
WW stands for William Wilson, who owned Hallam Moor.

The WM on the other side represents William Moore, who owned Moscar Moor.

Ladybower Reservoir is briefly in view.

The view along Derwent Edge extends as far as the trig on Back Tor.

We pass below Crow Chin, which has a climber following one of its routes.
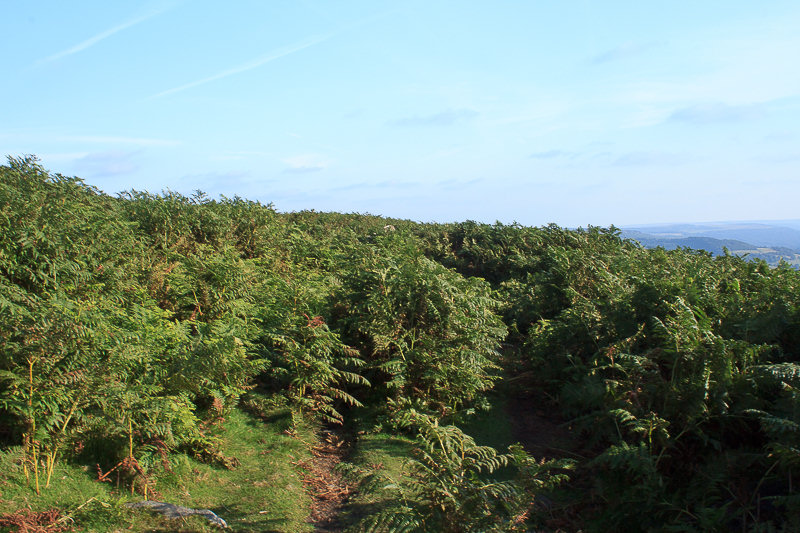
Much of the path back was through ferns, which in this heat meant the midges were out.

As we approach the end of the walk Hathersage is visible in the valley below.
All pictures copyright © Peak Walker 2006-2023